Last month I sat down next to a coworker — smart guy, works in data, uses his PC eight hours a day — and watched him painstakingly drag and resize four browser windows by hand. One by one. I asked if he knew about Snap Layouts. He stared at me like I’d just invented fire. That moment kind of crystallized something I’d been thinking about for a while: Windows 11 is genuinely packed with useful stuff, and almost nobody knows it’s there.
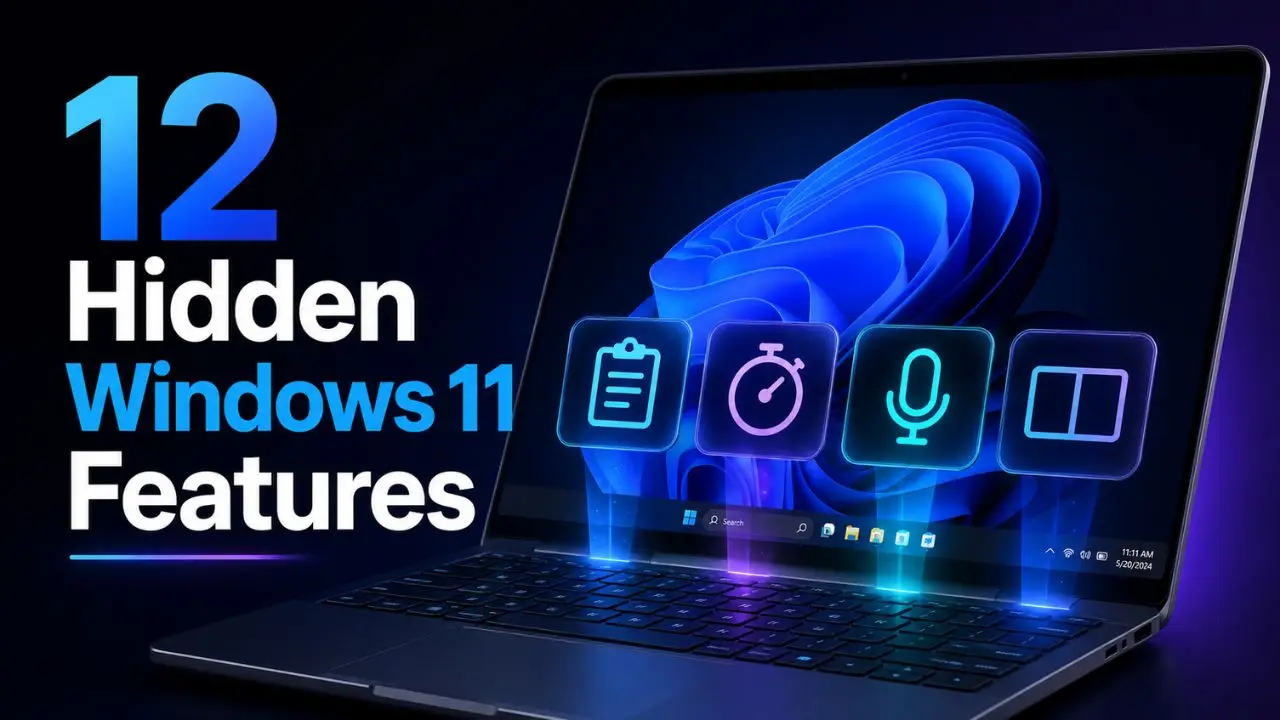
So I spent a few weeks actually going through the OS — not just skimming the settings menu, but using each feature for at least a few days — and put together this list. Some of these you might have heard of but never actually set up. A few you’ve almost certainly never touched. All 12 are real, built-in (or officially Microsoft-made), and worth your time.
01 Snap Layouts & Snap Groups — You’re Probably Using 10% of This
Most people know you can snap windows to the left or right half of the screen. That’s the 10%. The actual feature is way more interesting. Hover over any window’s maximize button — don’t click, just hover — and a grid pops up showing you six or more layout options. Four windows in a quadrant, a wide left panel with two stacked on the right, a three-column split. Pick one, and Windows will ask you to fill the remaining zones with other open apps.
That’s Snap Layouts. The sneaky part is Snap Groups: Windows remembers those grouped windows as a unit. If you minimize everything and hover over the taskbar icon of one app in a group, you’ll see the whole group resurface together. It’s one of those features that sounds unremarkable until you use it for a week straight.
Keyboard Shortcut
Win + Z
Instantly opens the layout chooser for your active window. Enable under Settings → System → Multitasking → Snap windows.→ Microsoft Docs: Snap Layouts
02 Clipboard History — Stop Losing Copied Text Forever
Here’s a thing that drives me a little crazy: the default Windows clipboard holds exactly one item. You copy something, copy something else, the first thing is gone. Clipboard History fixes that. It keeps the last 25 items you’ve copied — text, images, files — and you pull it up with a simple shortcut.
Honestly, once you turn this on you’ll wonder how you survived without it. I use it constantly when I’m working with multiple reference tabs, filling out forms, or just jumping between documents where I’m grabbing bits and pieces.
How to Enable
Win + V
Go to Settings → System → Clipboard → Toggle “Clipboard history” ON. Then press Win + V to open the history panel instead of just pasting with Ctrl+V. You can also enable cross-device sync if you’re signed into a Microsoft account — though I’d skip that if you ever copy passwords or sensitive info.→ Microsoft Docs: Clipboard History
03 Virtual Desktops — Like Having Multiple Monitors Without Buying Anything
Press Win + Tab and look at the top of the screen. You’ll see a “New desktop” button. Click it. Now you’ve got a second workspace — completely clean — that you can fill with different apps. Work stuff on Desktop 1, personal stuff on Desktop 2, a focused writing environment on Desktop 3.
Switching between them is Win + Ctrl + → or Win + Ctrl + ←. You can right-click each desktop thumbnail to rename it and give it a unique wallpaper — which honestly helps your brain actually switch contexts, not just your screen.
Quick Access
Win + Ctrl + D
Creates a new virtual desktop instantly. Win + Ctrl + F4 closes the current one.→ Microsoft Docs: Virtual Desktops
04 Focus Sessions — A Pomodoro Timer Built Into Your Clock App
I genuinely didn’t discover this until 2025, and I use Windows daily. Open the Clock app — yes, the native one — and look for a “Focus” tab on the left sidebar. You set a session length (anything from 5 minutes to 4 hours), it links up with Microsoft To-Do so you can pick a task, plays ambient music through a Spotify integration if you want it, and auto-enables Do Not Disturb so badges and notifications stop flashing.
The thing nobody tells you is that it actually follows a proper Pomodoro structure with automated short breaks. You don’t have to think about it. And when it’s done, it logs your completed focus time — which is weirdly motivating when you can see a week’s worth of deep work stacking up.
Who should use this: Anyone who struggles with deep work, gets pulled off-task by notifications, or uses the Pomodoro technique manually. It’s not as polished as something like Toggl or Sunsama, but it costs $0 and it’s already on your machine.
05 Voice Typing — Much Better Than You Remember It Being
Press Win + H anywhere you can type. A small floating bar appears. Speak. Your words appear. That’s it. As of the updates rolled out in early 2025, it handles punctuation automatically (you don’t have to say “comma” or “period”), deals with accents significantly better than it did at launch, and even picks up technical vocabulary decently.
Is it perfect? No. But for getting rough drafts out of your head and onto screen, or for transcribing notes after a meeting while you still remember the context, it’s become part of my actual workflow. And the auto-punctuation alone makes it 10x more usable than it was in 2022.
Shortcut
Win + H
Works in any text field. Enable auto-punctuation in Settings → Time & language → Speech → “Voice typing launcher.”→ Microsoft Docs: Voice Typing
06 Live Captions — Real-Time Subtitles for Any Audio
This one started as an accessibility feature but is honestly useful for anyone. Press Win + Ctrl + L and a caption bar appears at the top or bottom of your screen, transcribing any audio playing on your computer — YouTube videos, Zoom calls, podcast clips — in real time. All processing happens locally on your device, so it works offline and nothing gets sent to a server.
I’ve used it when watching conference talks with unclear audio, when I’m in a noisy environment and can’t use headphones, and once for a recorded webinar where the speaker had a thick accent I was struggling with. Works better than you’d expect.
Shortcut
Win + Ctrl + L
First launch will download a speech model (~50 MB). Works in 10+ languages.→ Microsoft Docs: Live Captions
07 Snipping Tool’s OCR — Copy Text From Any Image
The Snipping Tool got a serious upgrade in 2023 that most people still haven’t found. Open it with Win + Shift + S, capture any part of your screen — a screenshot, a photo of a document, a dialog box with an error you need to Google — then open the captured image in the Snipping Tool app. There’s a button that says “Text actions.” Click it. It highlights all the text in the image and lets you copy any of it.
The number of times I’ve needed to copy an error message from a frozen dialog box and had to retype it by hand… and all along, this feature was sitting right there.
I’d push back on the idea that this is a “niche” feature. If you work with PDFs, screenshots, or scanned documents at all, you’ll use this constantly once you know it exists.
How to Use
Win + Shift + S → Open in Snipping Tool
Capture a region, then click “Text actions” in the toolbar. Supports copy, redact, or copy all detected text at once.→ Microsoft Docs: Snipping Tool
08 PowerToys — Microsoft’s Official Power-User Toolkit
This one’s a separate download, but it’s made by Microsoft and it’s free — so I’m including it. PowerToys is a suite of small utilities, and once you install it, you’ll wonder why half of them aren’t baked into Windows by default. Here’s a quick rundown of the ones I actually use:
- FancyZones — Custom window layouts beyond what Snap offers. Draw your own grid.
- PowerToys Run — Alt + Space launches an app/file/calculator search bar. Think Spotlight for Windows.
- Color Picker — Win + Shift + C grabs any color from anywhere on your screen.
- Text Extractor — Similar to Snipping Tool’s OCR but triggered as a shortcut from anywhere.
- Always on Top — Pin any window to float above everything else.
- Keyboard Manager — Remap any key system-wide.
Download
Microsoft PowerToys
Free download from the Microsoft Store or GitHub. Actively maintained. Over 20 tools included.→ Microsoft: PowerToys Documentation
09 God Mode Folder — All Settings, One Place
This one’s been around since Windows 7, but it still trips people up when they hear it. It’s not a hack. Right-click on your Desktop, create a new folder, and name it exactly this — including the dot and the curly braces:
GodMode.{ED7BA470-8E54-465E-825C-99712043E01C}
The folder icon changes to a Control Panel icon. Open it. You’ll find over 200 settings shortcuts organized by category — everything from managing Wi-Fi adapters to adjusting power plans to creating system restore points. It’s basically the entire Windows settings surface in one browsable view. Really useful when you know a setting exists but can’t remember where Microsoft buried it this week.
10 Focus Assist / Do Not Disturb — Actually Automatic Now
In Settings → System → Notifications, scroll down to “Turn on do not disturb automatically.” You can set rules so DND turns on when you’re mirroring your display (great for presentations — no more embarrassing popups), during the first hour after Windows starts, or during a Focus Session.
The part most people miss is priority notifications: you can let through calls, reminders from specific apps, or alerts from pinned contacts while blocking everything else. It’s not all-or-nothing. Set it up once and forget it.
Find It At
Settings → System → Notifications
Look for “Turn on do not disturb automatically” near the bottom.→ Microsoft Docs: Do Not Disturb
11 Quick Internet Speed Test — Right in Wi-Fi Settings
This rolled out in the March 2026 update (KB5079391) and I love that it’s finally there. Go to Settings → Network & Internet → Wi-Fi → your connected network, and there’s now a “Test Internet Speed” button that runs Bing’s speed test in-app. No browser, no third-party site, no ads — just a quick read on your current upload/download.
Is it the most precise tool on the planet? Probably not. But for a quick gut-check before blaming your ISP or checking if the office Wi-Fi is the bottleneck before a big video call, it’s genuinely handy to have one click away in the settings panel.
12 Point in Time Restore — System Restore, Rebuilt
System Restore has been in Windows forever. The new version rolling out in 2026 is called Point in Time Restore and it gets a full modern UI overhaul — it’s actually usable now. You can set it up under Control Panel → System → System Protection. Create restore points manually before installing sketchy software, driver updates, or major Windows patches. If something goes wrong, you roll back to a known-good state without reinstalling Windows.
The thing nobody tells you about this is that Microsoft auto-enabled it on most machines — but the default protection allocates only about 5% of disk space, which means it might keep only one or two restore points. Go in and bump that up to 8–10% if you have the space. Future-you will be grateful.
Enable / Configure
Control Panel → System → System Protection
Click “Configure” on your C: drive and increase the max usage slider to at least 8–10 GB. Then click “Create” to make a restore point right now.→ Microsoft Docs: System Restore
Who Actually Needs to Use All 12?
| Feature | Best For | Setup Time |
|---|---|---|
| Snap Layouts | Anyone who multitasks | 30 seconds |
| Clipboard History | Writers, devs, researchers | 1 minute |
| Virtual Desktops | People with too many open windows | Instant |
| Focus Sessions | Deep work, distraction-prone folks | 5 minutes |
| Voice Typing | Fast drafters, accessibility needs | 1 minute |
| Live Captions | Anyone watching video content | 2 minutes |
| Snipping Tool OCR | PDF/screenshot workers | None needed |
| PowerToys | Power users, devs, creatives | 15 minutes |
| God Mode | Settings hunters, IT folks | 1 minute |
| Do Not Disturb Rules | Meeting-heavy workers | 5 minutes |
| Wi-Fi Speed Test | Everyone occasionally | None needed |
| Point in Time Restore | Everyone, no exceptions | 5 minutes |
Honestly, if I had to tell you which three to do this afternoon — Clipboard History, Snap Layouts, and Point in Time Restore. Low setup cost, immediate payoff, and that last one could save you from a really bad day at some point. The others are gravy.
Have you tried any of these before? Or — and this is the question I’m genuinely curious about — is there a Windows 11 feature I missed that you swear by? Drop it in the comments. I’m always looking to update this list with the stuff I’m still sleeping on.
What’s Your Hidden Windows Trick?
I know I’m probably missing a few gems. If you’ve got a Windows 11 shortcut, tool, or setting that’s changed how you work, share it below. The best tips from the comments will make it into the next update of this post.